
Make this super simple, stand mixer pie crust recipe and let your mixer do half the work! This recipe is for 2 pie crusts and can be frozen.
If you know me, you’d probably assume that I have a love hate relationship with pie crusts, and you would be correct. I love the taste, texture, and simple ingredients a homemade pie crust offers, but I hate the manual labor you have to put into one. Enter stage right, the stand mixer. Hallelujah!
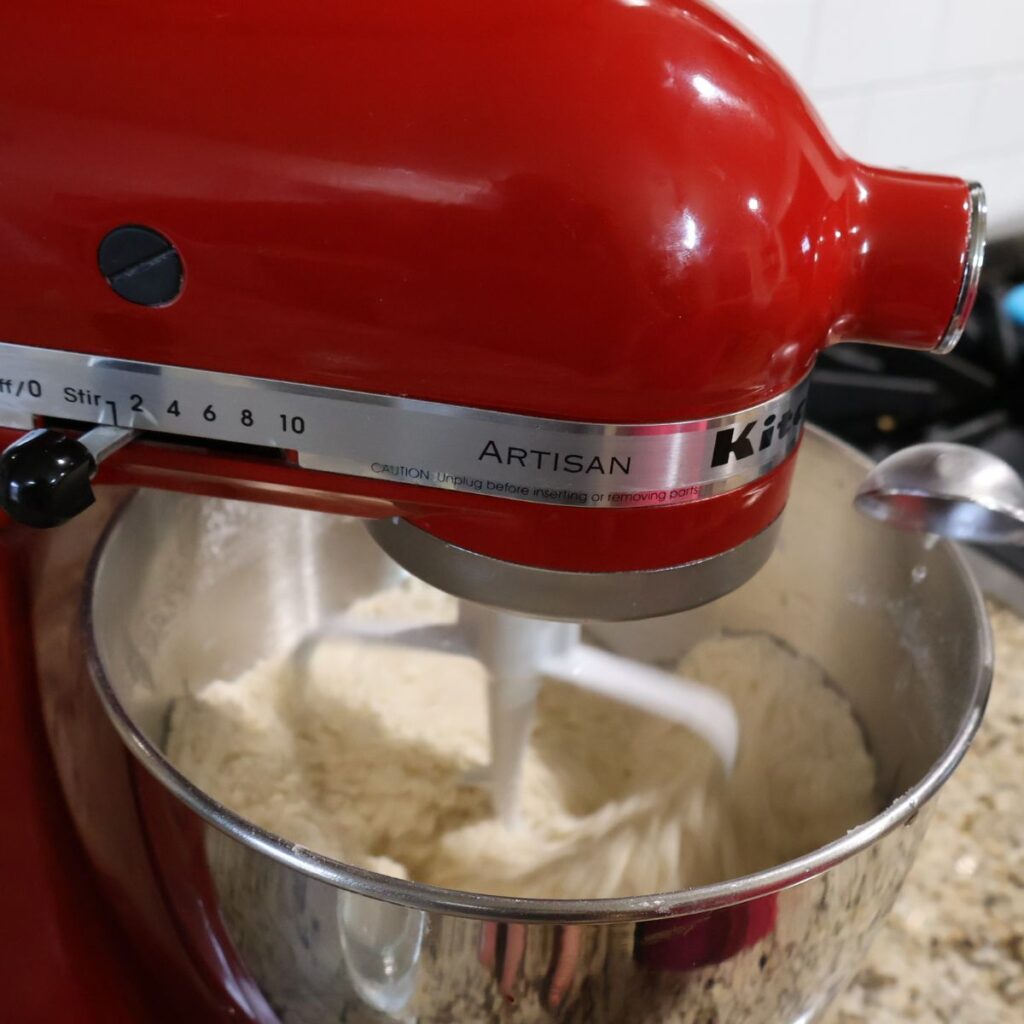
My Kitchen Aid stand mixer is one of my favorite kitchen appliance workhorses here at Farmhouse 181. A luxury I know, but it does so much hands off work for you that if mine quit working, I’d instantly start saving my pennies for another one.
With this butter stand mixer pie crust recipe, you will get two simple, flakey pie crusts. This is perfect for double crust pies, Thanksgiving or the holiday season when you need to make more than one, or to freeze one for a later date.
See the full recipe card for my favorite Stand Mixer Pie Crust Recipe with Butter at the bottom of the page with detailed ingredients list and full, step-by-step instructions. Print and save in your cookbook binder, or bookmark this page! I come back to this same no-fail recipe year after year. Just like my stand mixer, this recipe is such a simple and functional workhorse for the holidays or special occasions.
Why I love this Stand Mixer Pie Crust Recipe
This pie crust is literally the perfect pie crust recipe. It’s functional, no frills, and consistent every single time I make it, even if that’s only twice a year. This recipe:
- Never fails, never soggy, never falls apart
- SUPER simple Ingredients
- Makes 2 crusts
- Can easily be frozen for later
- Simple enough for first time pie dough makers
- Pairs perfectly with sweet or savory pies
- Good for pre-baking or blind baking pie recipes
Equipment Needed
Obviously, I use a stand mixer in this recipe. That being said, I don’t have a food processor, which is what most home chef’s use for their pie crusts. Currently saving my pennies for that one. But you can make this recipe without either of those kitchen appliances. You can use a simple pastry blender, like this one. Making a pie crust will be a more challenging task without one of these useful kitchen major appliances, but the pastry cutter will do just fine and still give you a pie crust that will hold up, with whatever skill level you have. What do you think grandma used?!
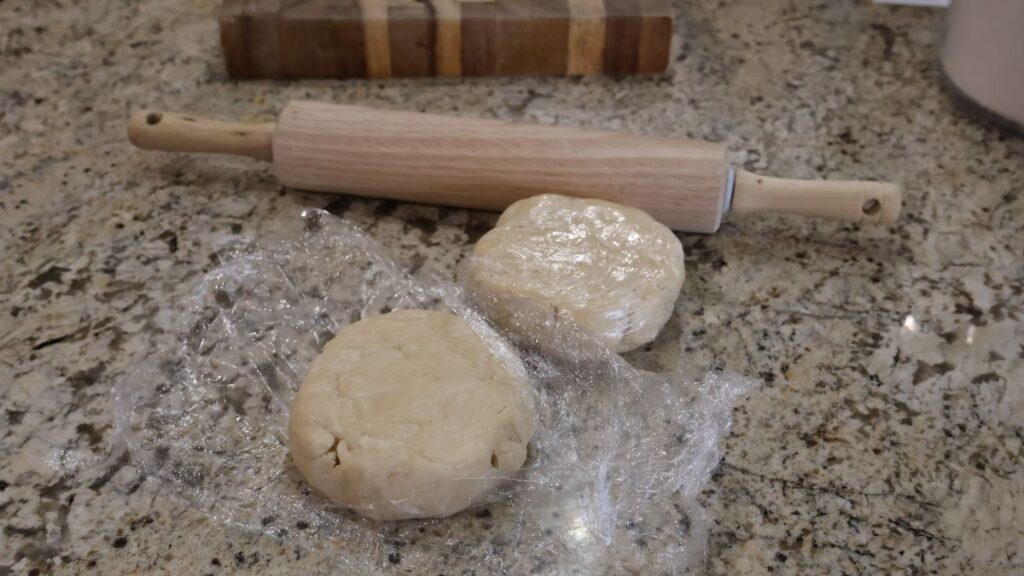
You will also need a rolling pin for this recipe. Doesn’t matter what kind. I am still using a probably $10 one from 13 years ago.
A pie plate will also be necessary for this recipe. Glass, metal, disposable would all work just fine. And I even used one deep dish and one regular pie dish when I made these and was completely satisfied. My deep dish didn’t have as much overhang, but I don’t really get caught up in making that pretty anyways…function over beauty in this instance.
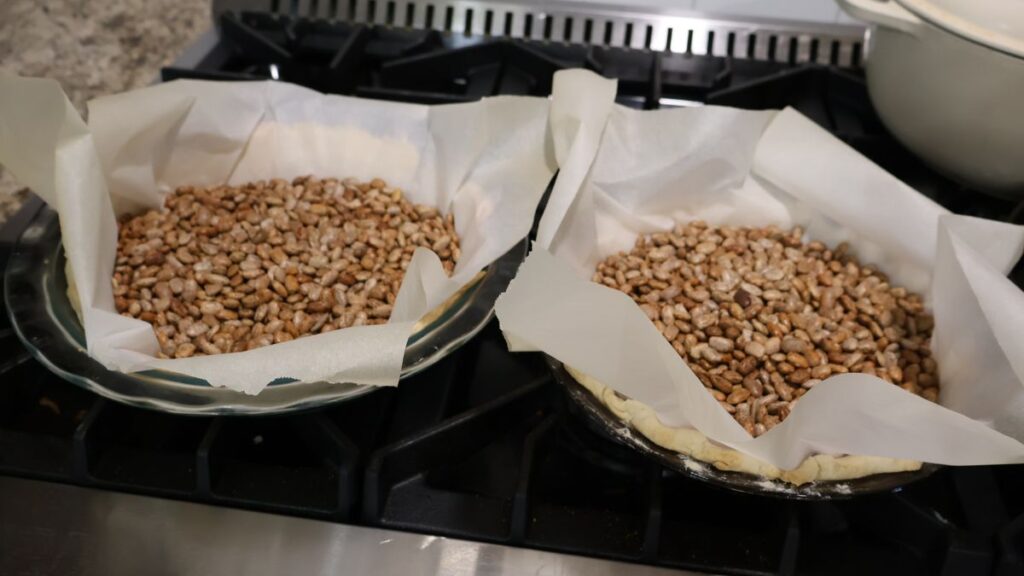
Pie weights…don’t waste your money. Sacrifice a big bag of dried pinto beans up to the pie gods…jk..we love Jesus. But really, designate a bag of dried pinto beans as your “pie beans” which will have the same effect as pie weights. And don’t try to eat the beans after…no bueno.
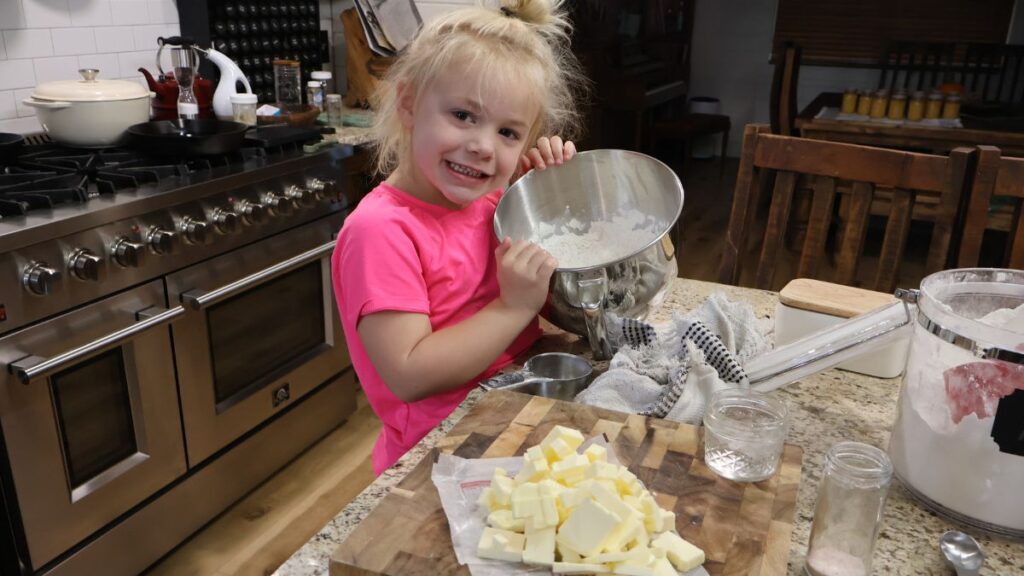
This next piece of equipment is definitely not necessary and can even add lots of time to your pie making. But it increases the joy in the process of making by tenfold. You need a little helper. I have the super sweet n salty model, but any one will do. Mine is NOT for sale or rent folks, but I’m sure you can find one comparable!
Stand Mixer Pie Crust Ingredients
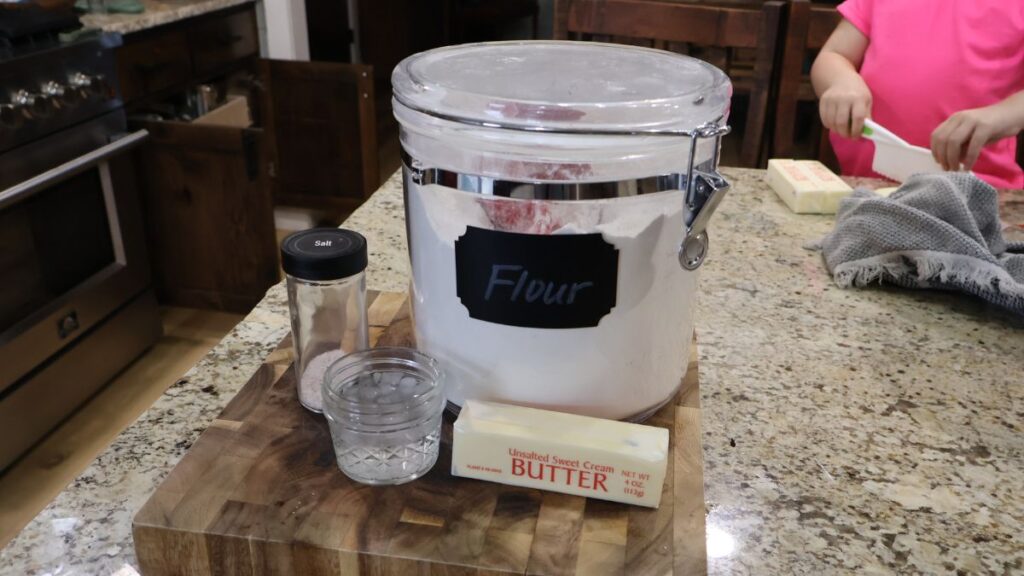
Ingredients needed for this recipe are super simple. Pillsbury is great in a pinch, but I’d rather my family not eat sodium metabisulfite or yellow dye 5 and six if we don’t have to. I’d rather have a butter crust with other simple ingredients. This recipe calls for the following:
- All Purpose Flour
- Unsalted Butter
- Salt
- Iced Water
Not really ingredients, but also, have your plastic wrap or plastic bag and some parchment paper or foil accessible.
Do your best to use these exact ingredients. I have used salted butter in place of unsalted before, and it turns out fine. It just heats up more quickly when you are working with the dough. I have also even used bread flour when I was out of all purpose. That may have happened in this round of photos you see. It actually makes a sturdier crust that really held up. Not too hard and still pretty flakey. But it was much harder to roll out to the higher gluten development…not fun, but totally doable.
Stand Mixer Pie Crust Recipe Instructions
Preparing Pie Crust Dough
First, make sure your stand mixer paddle attachment is clean and ready to go as well as the mixing bowl. Plug your kitchen aid in and have it set up and ready for use.
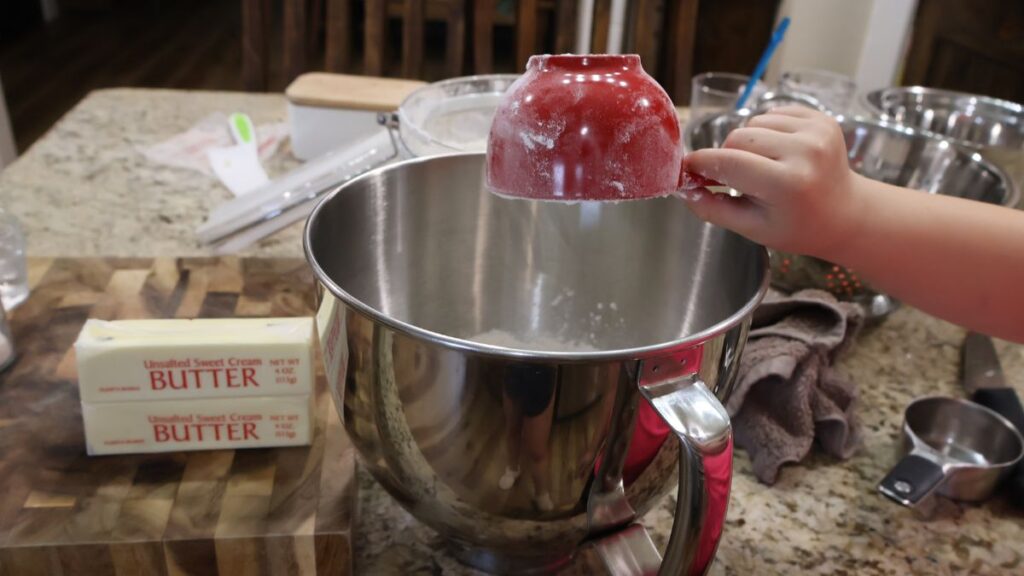
Prepare your ice water and have it ready.
Measure out your dry ingredients into the mixing bowl. Do a quick stir to distribute the salt through the flour.

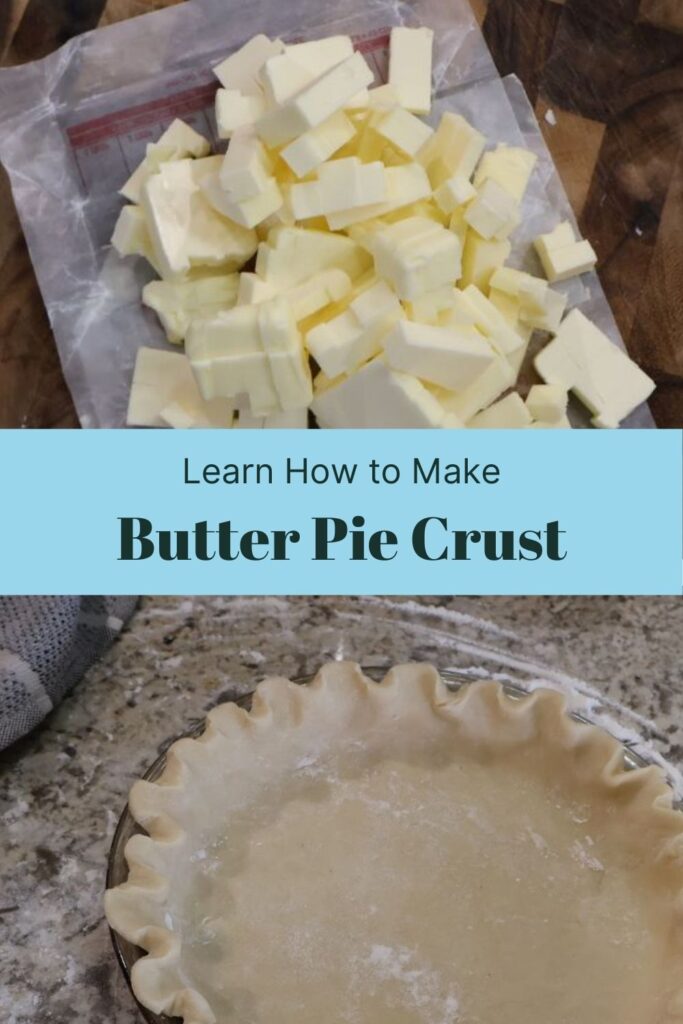
Cut up your cold butter into small pieces. I usually cut the stick length wise into 4 strips, then flip and cut lengthwise again into 3 strips. Then I start slicing the butter stick normally and it makes for these tiny cold chunks that incorporate well into your crust.
Remember, you want your butter to be preferably unsalted and as cold as possible. Not frozen, but straight out of the back of the fridge.
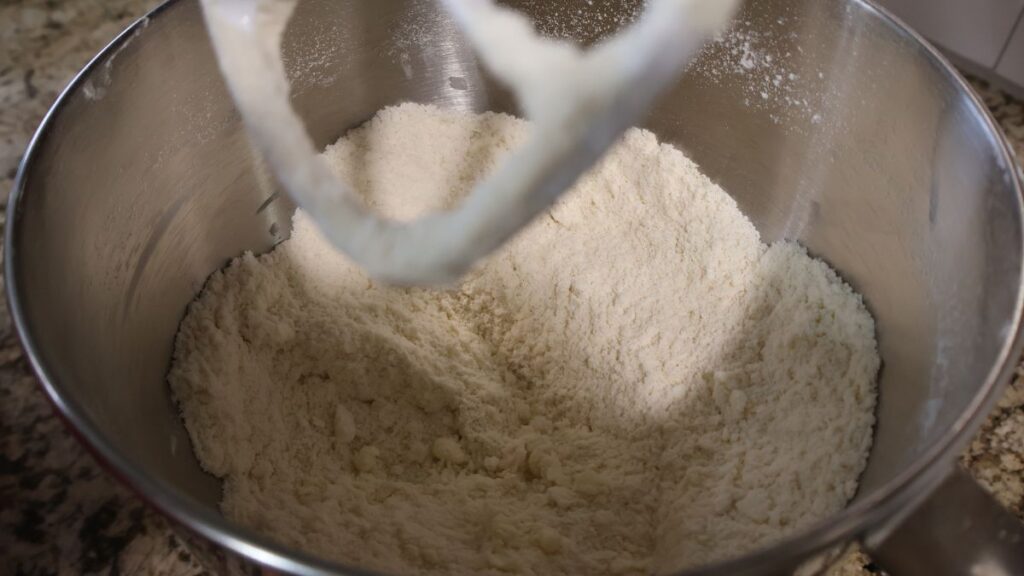
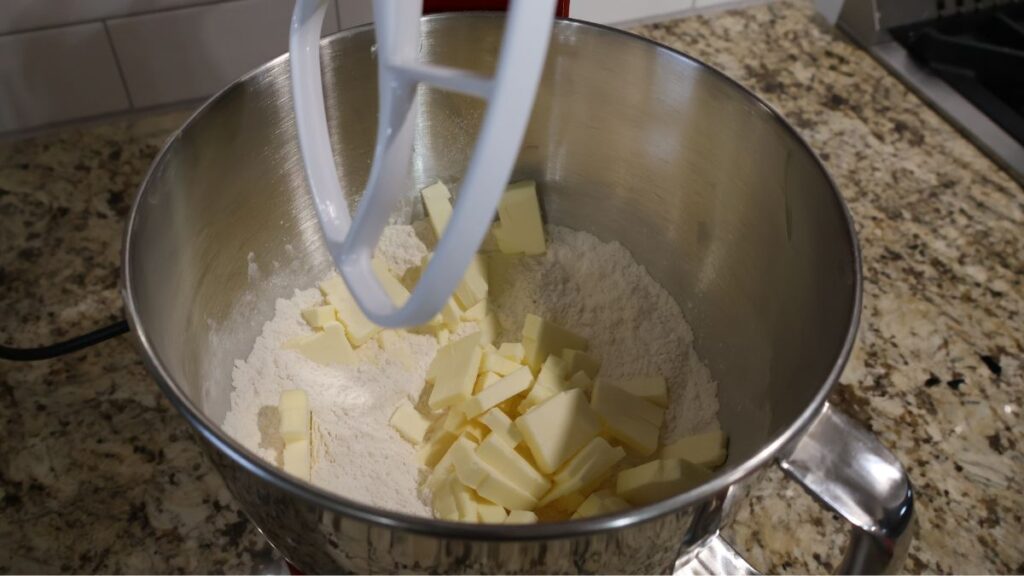
Add your cold butter chunks into your flour mixture. Turn your mixer onto stir, then a lower speed setting. Max probably 4. Get your butter well incorporated into the flour. If you used larger butter chunks than I did, you will see pea sized butter pieces about to form after about a minute or so. I used smaller pieces, so my mixture looked more fine. Just squeeze a piece of your mix. If it holds together, the butter is incorporated.
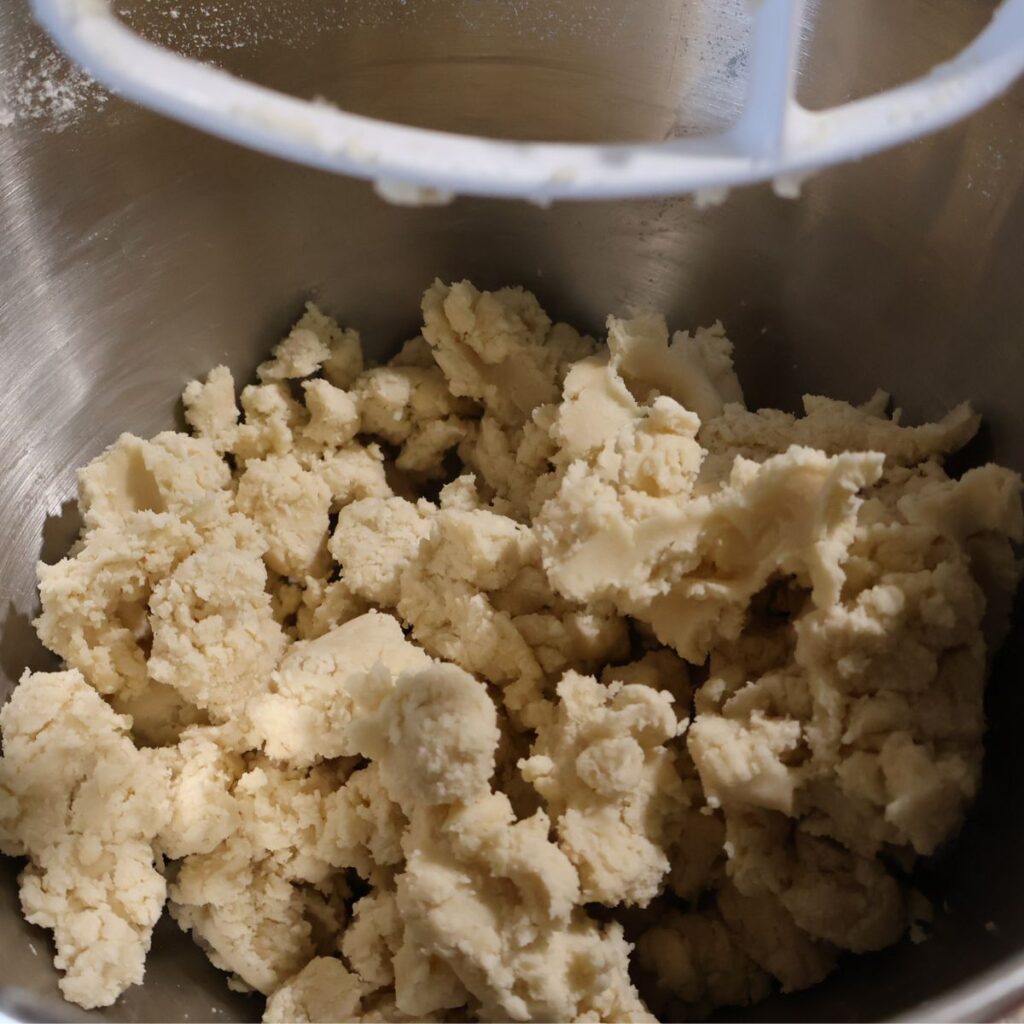
Turn down your mixer speed to a 2 or 3, or low speed. Now slowly start adding in your ice water to the mixer bowl, one tablespoon at a time. Keep adding until your mixture starts to come together. This will look like it pulling away from the sides of your mixing bowl and forming into balls. My helper got me a little distracted with her insistence on “not needing any help” and we used 8 Tablespoons of cold water, which ended up being a tiny bit too much water, but no worries. We will fix that. Let’s be real…I probably would have done it without my helpers influence anyways. Just wait for my next oversight…it’s coming!
Next dump out your pie dough onto a floured work surface to prevent sticking. We heavily floured our surface when to offset the little extra water content in our dough. Roll dough together just until it is smooth. Split mixture in half and form into 2 dough balls.
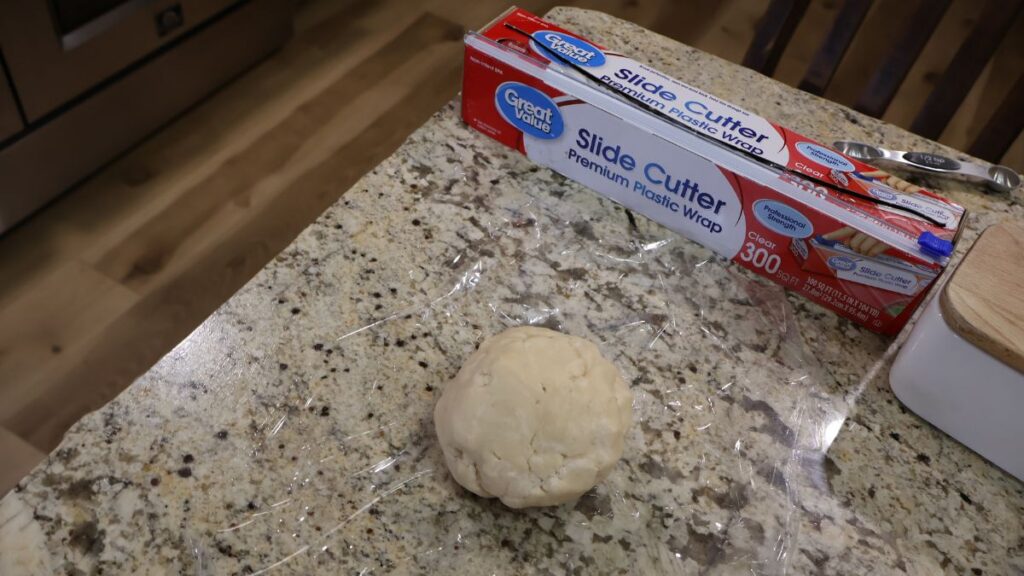
Transfer your dough balls into two separate pieces of plastic wrap or plastic bags. Once inside, flatten your dough balls into a disc shape. This helps your more easily shape your crust into a circle when rolling. Then put your pie crust discs into the fridge to chill for about a half hour.
Rolling Out Dough
Flour your surface if additional flour is needed. Remove your pie dough discs from the fridge and unwrap one or both depending on how many your need. If you only need one, throw your other crust in a freezer bag, then toss in the freezer for later use!
Best Tips for Rolling Out Dough
Start rolling out your dough until you have a 12-13 inch flat raw pie crust. Follow these rolling tips:
- Turn your dough 1/4 of the way between each roll or two
- Push edges in if cracks start to form. The sooner you correct them, the better structure your crust will have.
- Use a lot of flour to keep your crust from sticking to the counter or work surface. You want to be able to move your dough around easily. This will also keep it from sticking to your pan.
- Use a fancy baking mat with circle sizes printed on it for sizing help. I don’t have one of these, but probably should invest in one. My sizes never match, even when using identical size pans.
If you follow these tips, with some practice, you will be turning out perfected rolled dough in no time.
Steps to Bake
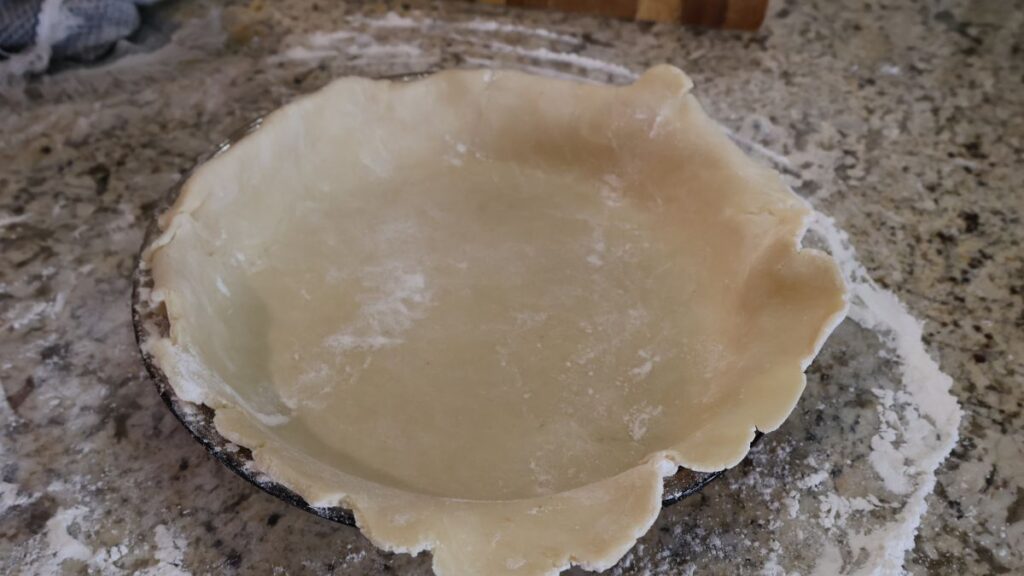
Transfer your floured pie crust to a pie pan of your choice. Easily transfer by rolling up dough onto your rolling pin, then unrolling in pan. Also, DON’T SPRAY your pie dish. Your crust should be adequately floured where it does not stick. This will also keep your crust from sticking to the bottom of the pan for serving.
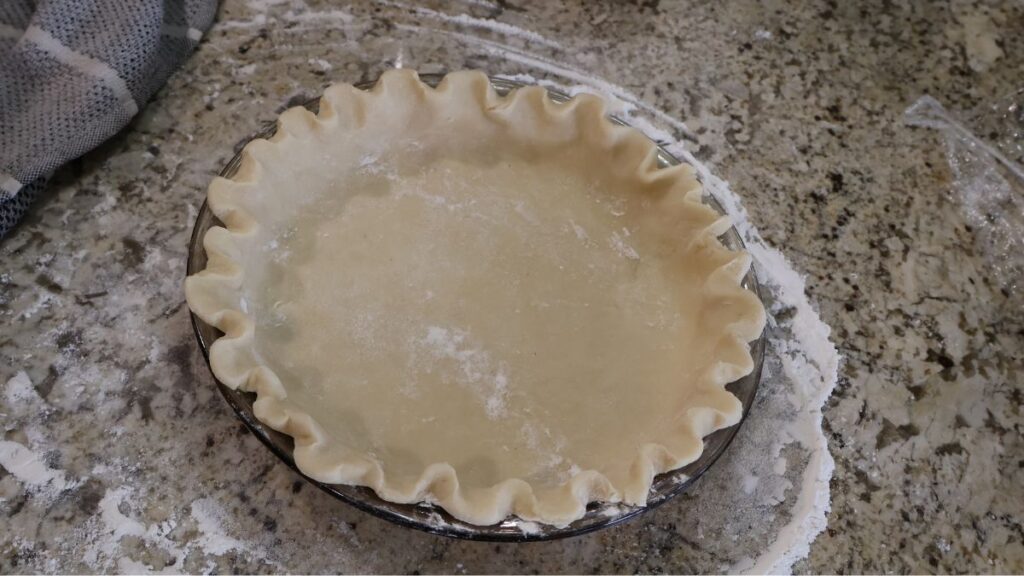
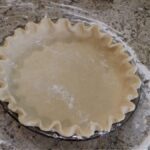
Fit your pie crust into your pie pan. Cut excess off of the edges if you have any, or fold it under. If you fold it under, you will have more dough to work with when you crimp the edges.
To crimp, push the edge of the dough between your opposite hand pointer finger and thumb. Do what you’d like here really.

There are 5 million ways to design the edge of your crust. Use this method or google further choices and instruction. Sorry to say you won’t be getting anything more “pretty” from me.
If you need the raw pie crust for your pie recipe, your journey ends here friends. Follow the remainder of your pie recipe and may be pie gods be forever in your favor! If you need a pre-baked pie crust, continue on.
Once shaped into your pan and edges and crimped as you desire, DONT FORGET to prick the bottom of your pie crust. I did…not the helper’s fault…just mine.
Next step is to put a piece of parchment paper or tin foil over your pie dough pans then fill your crusts with your pie beans or pie weights. This is to keep your pie dough from bubbling or developing pockets of steam in the bottom of the crust. You will see that it did not help my crusts here since I forgot to prick them. Again no worries. We will mitigate this in just a few minutes.
Bake your pie crusts at 425 degrees for about 15 minutes. Take out your pie beans then bake for an additional 5-10 minutes. Mine took about 7.

Move to counter and let come to room temperature. They are ready to fill with hot or cold filling at this point!
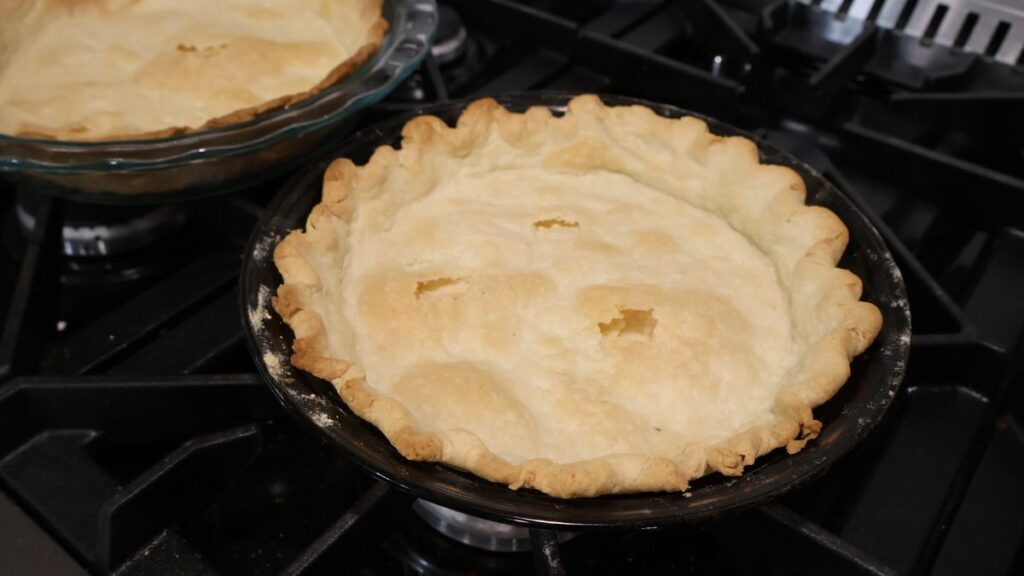
Now, if you had bubbles in the bottom like I did, we are going to use a super fancy method to correct our deficiencies. It’s called…just crunch the bubbles.
I know…once again I am showing you my true colors BUT there’s really no need for anything more complicated and to get that filling to the bottom of your crust. This recipe is sturdy enough that lightly crunching any large bubbles formed will not hurt the integrity of the crust or crack it through the bottom. It also won’t be seen. And it will give you your filling room. Win, win and Done!
Pie Filling Recipe Recommendations
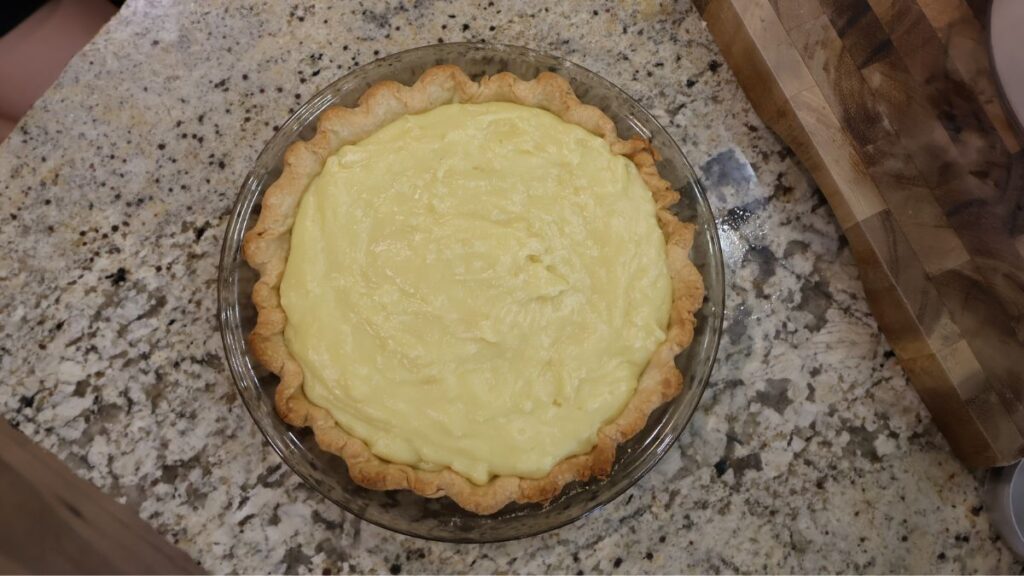
Well, that’s all for this one folks! I hope your pie crust turns out perfect and you enjoy your time making it with your little helpers. Here are a few recipes for yummy fillings that you are sure to love. The classic chocolate is my favorite…Enjoy!
Stand Mixer Pie Crust
Equipment
Ingredients
- 1 Cup Unsalted Butter
- 2½ Cups All Purpose Flour
- 2 Pinches Salt
- 6-8 Tbsp Ice Water
Instructions
- Pre-heat oven to 425 degrees.
- Combine flour and salt in stand mixer mixing bowl to distribute salt evenly
- Cut cold butter into very small chunks
- Mix butter into flour mixture until it is distributed throughout
- While mixer is mixing on low, add in ice water one tablespoon at a time until the mixture starts to form into balls and is pulling away from the sides of bowl
- Dump onto floured surface
- Bring dough together then divide in 2
- Form 2 balls from the dough and wrap in plastic wrap
- When wrapped flatten the dough balls in plastic wrap until they form disc shapes
- Put into the fridge for 30 minutes to rest
- Pull out of fridge and roll out dough on floured surface. Roll into 12-13 inch size
- Fit dough into pie pan. Tuck in edges and prick the bottom of the crust with a fork
- Put parchment paper in each pie dish then put pie beans into each dish
- Bake for 15 minutes then remove from oven and remove pie beans
- Return to the oven and bake for another 5-10 minutes or until golden brown
- Let come to room temperature then fill with your hot or cold filling per the filling instructions
- Slice, Serve, and Enjoy!
So it says 1 cup of butter, but then it says 1 stick. Did you mean 2 sticks or 1/2 cup?
Hey Lauren, thank you for asking! 1 cup. I took off the note on the recipe card that was definitely in error!
I just received a stand mixer for Christmas! This will be my first time using. In your recipe above you list one cup (1 stick) unsalted butter. However 1 stick is a half cup of butter. My question is does this recipe take 1 cup or 1/2 cup of butter?
Awesome Dena…you will LOVE it! 1 Cup is correct and I removed the note/error on the recipe card. Thanks for catching that and enjoy that stand mixer!!
If I make the crust a few hours ahead of time do I store it in the fridge till I’m ready to fill it, or do i leave it at room temp?
Thank you!
Hey Kristen! If you are leaving in fridge for a few hours, I would just pull it out and let it sit on the counter for 10-15 minutes, give or take, so it will soften slightly and be easier to roll out, but still cold where it will hold it shape. I hope it turns out great for you!
Do you always have to bake the crust before filling?
No…it will just depend on your pie filling recipe 😊