
Elevate your dessert recipes with homemade whipped cream! The easiest way to take a 7 dessert to a 10 is with a plop of this simple topping!
Apparently, there is a big debate on what makes the best whipped cream…confectioners’ sugar or plain granulated sugar. And this right here is what makes me a lifestyle blogger and not a food blogger. As a lifestyle blogger who just loves to cook, I don’t care what sugar you choose. If you are homemaking whipped cream for homemade dessert, you go Mama! That’s a win in my book, and let’s move on!
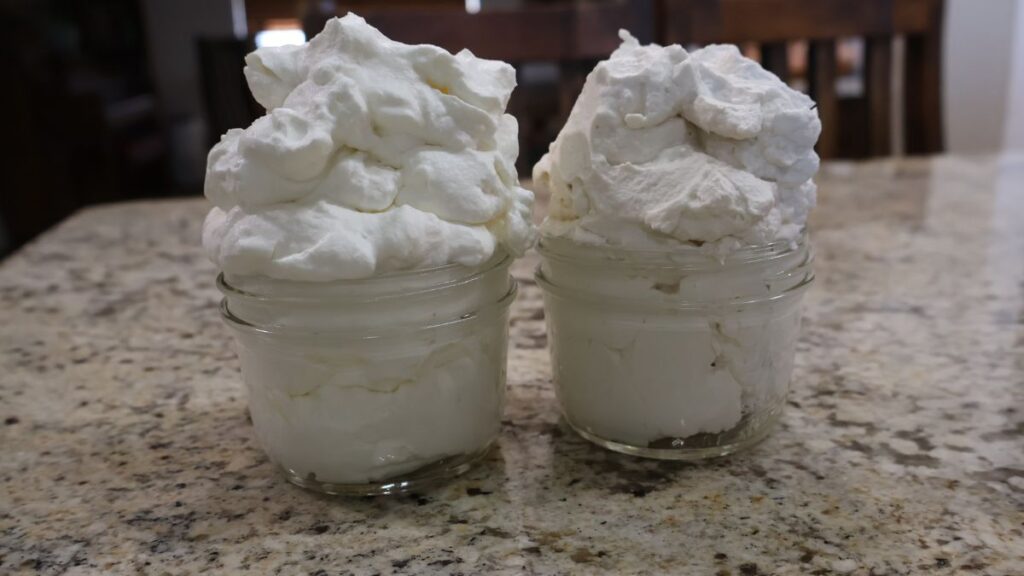
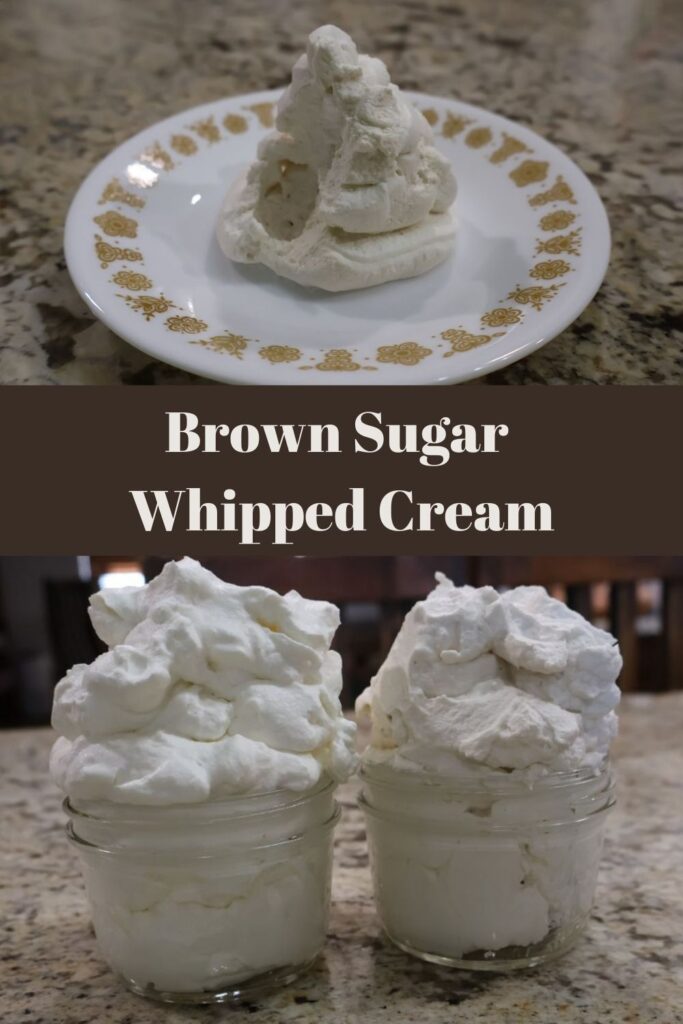
Want to know a secret? I don’t agree with either side. I’m team BROWN SUGAR all the way. If you know me it probably doesn’t surprise you that I like to do my own thing. And I always wonder where my kids get it from. If you can tell in the photo above, the homemade whipped cream to the right has a darker color due to the brown sugar. Left is with white sugar.
No matter which sugar you choose, you are going to end up with a simple, but fantastic topper that will make your dessert recipe that much better. Move on over Cool Whip!
See full recipe card for the Simple Homemade Whipped Cream at the bottom of the page with detailed ingredients list and full step-by-step instructions. Print to save in your cookbook binder or bookmark this page! It’s too easy to not plop on all of your desserts!
Why Do I Like Brown Sugar Homemade Whipped Cream the Best?
So glad you asked! Commercial brown sugar is usually white sugar that has been processed, then with molasses added back in. The molasses gives the sugar a deep almost caramel like flavor that is a compliment to so many desserts. I can think of several desserts that just wouldn’t be the same without the brown sugar, vs just plain white sugar.
That being said, this is definitely a preference. And I believe that a brown sugar whipped cream tastes better and will be my choice for almost any dessert, just because I like it. But if you would prefer a less flavored whipped cream that keeps that classic sweet cream taste, I tend to go for granulated white sugar. With so little of it in the recipe, it dissolves without any issues and is less messy than confectioners’ sugar.
Again…it’s a lifestyle blog and less chance for mess makes my lifestyle easier. If you’d like to nerd out on best sugars to use when in baking and subs, check out this King Arthur Baking Company article…but later. We have business to take care of!
Homemade Whipped Cream Ingredients
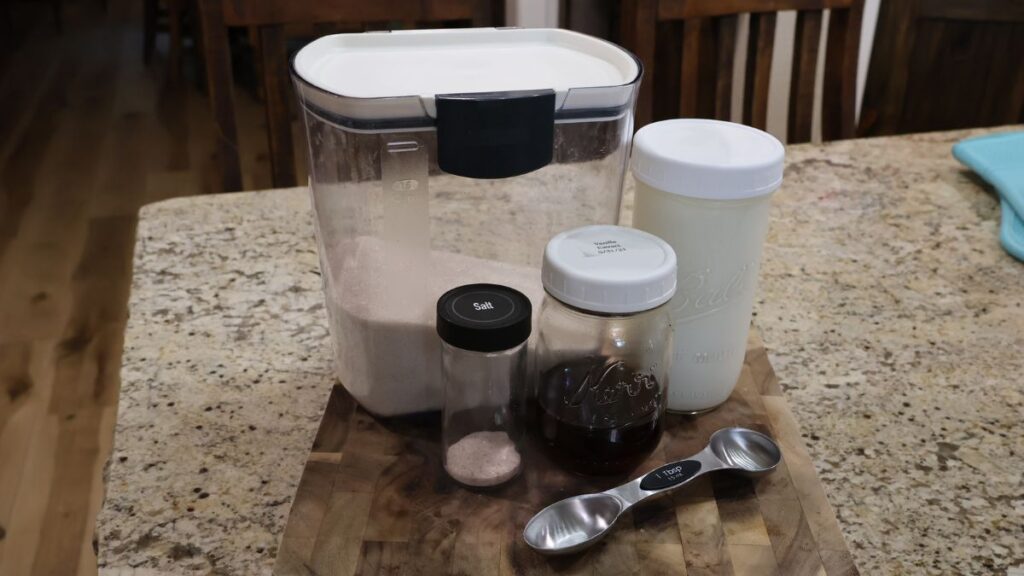
- Sugar – You can use white table sugar, powdered sugar, or brown sugar.
- Heavy Whipping Cream
- Vanilla Extract
- Salt
As stated before, you can use white table sugar, powdered sugar, or brown sugar. Vanilla bean paste instead of vanilla extract would also work.
Salt…sometimes I add it, and sometimes I forget. Good either way.
Equipment Needed
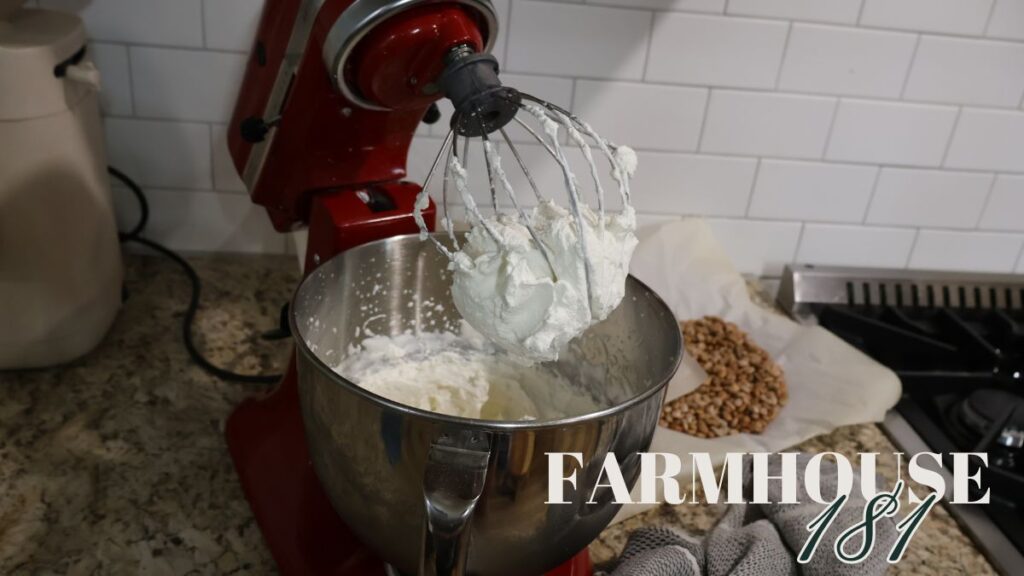
I use my stand mixer with a whisk attachment. By far the easiest way to make your whipped cream. BUT don’t walk away from your mixer. It is easy to overmix if you are not monitoring the process.
Hand Mixer is another good option and would be my second choice. You can either use a whisk attachment, or its normal beaters.
A whisk…ugh I can feel the carpal tunnel setting in already. Look…I know me. And if I have to hand whisk something for an extended amount of time, I am probably not going to make it. Be better than I am. But if you can’t be…get you a cheap hand mixer. I have had this thing for over 10 years and it’s still going strong.
How to Make Homemade Whipped Cream
You want your mixing bowl and attachments to mixer, or whisk to be super cold. Depending on how much I am thinking ahead, I will place my whipping cream in the freezer for about 5-10 minutes before whipping. I will also rinse out my mixing bowl and not dry the inside, then place it in the freezer. The left behind water droplets get the bowl super cold, so quick!
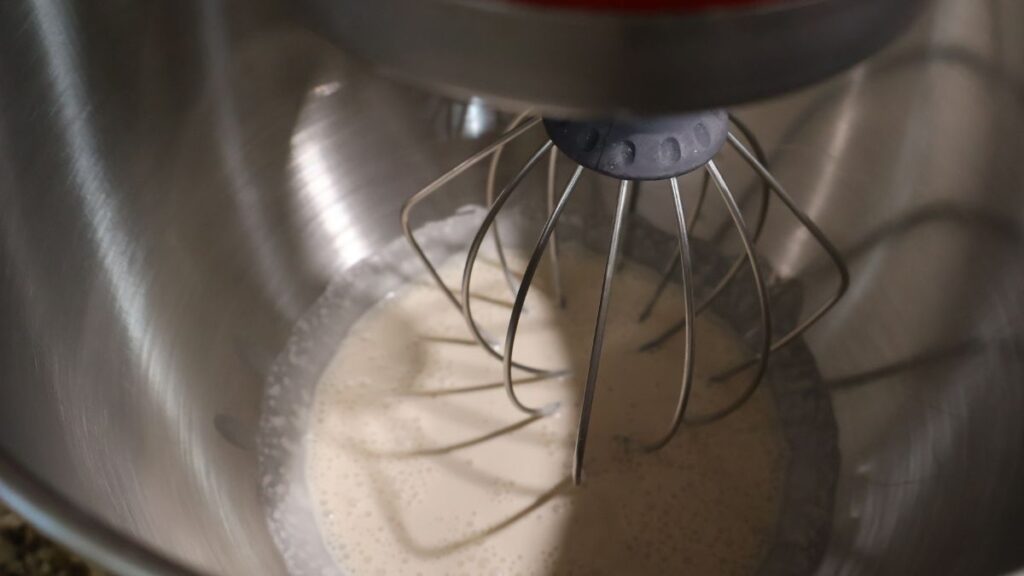
Gather your ingredients. Pour your heavy cream in your mixing bowl. Mix in your sugar, vanilla and pinch of salt. Start mixing your cream on a low speed so your sugar can dissolve for about 30 seconds.

Crank up your speed gradually, or immediately, either way. If you start lower than move to a higher speed, you are less likely to make a mess. What I usually end up doing is covering my mixer with a towel while I am mixing. Total time is like a minute and 30 seconds of mixing.
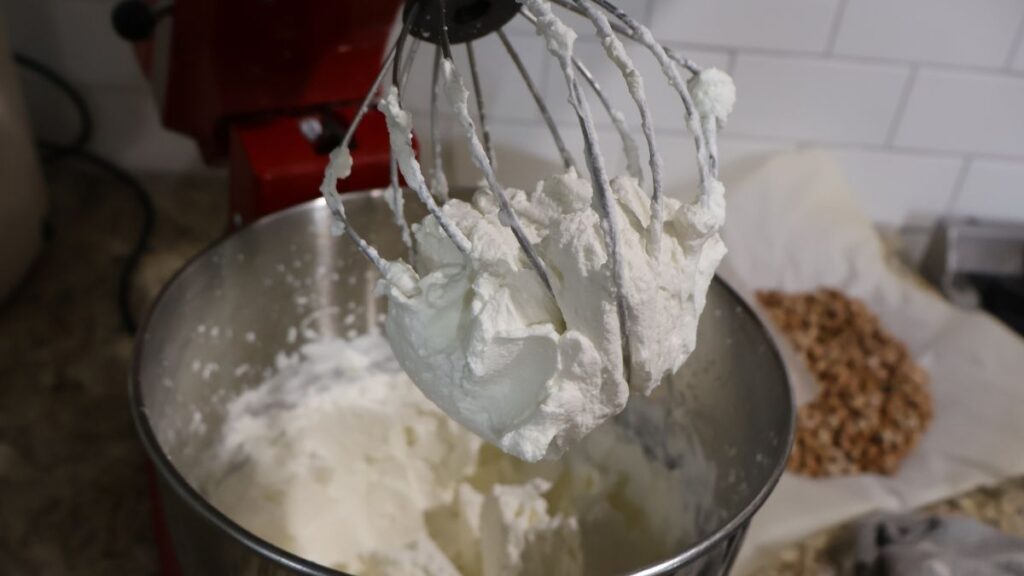
You want stiff peaks to form, but remember pay attention. Don’t overmix. If you do, your mixture will start to get grainy and you’ll be on your way to making butter. My whipped cream does not look perfectly smooth like a Cool Whip, but it’s consistency is creamy and forms stiff peaks perfectly if piped.

That’s it! Now plop away on the dessert of your choice, or put in a piping bag and decorate your dessert. We usually plop here, or put it in a freezer bag and cut the corner off to decorate…fancy huh. Tasty beats pretty here. Always!
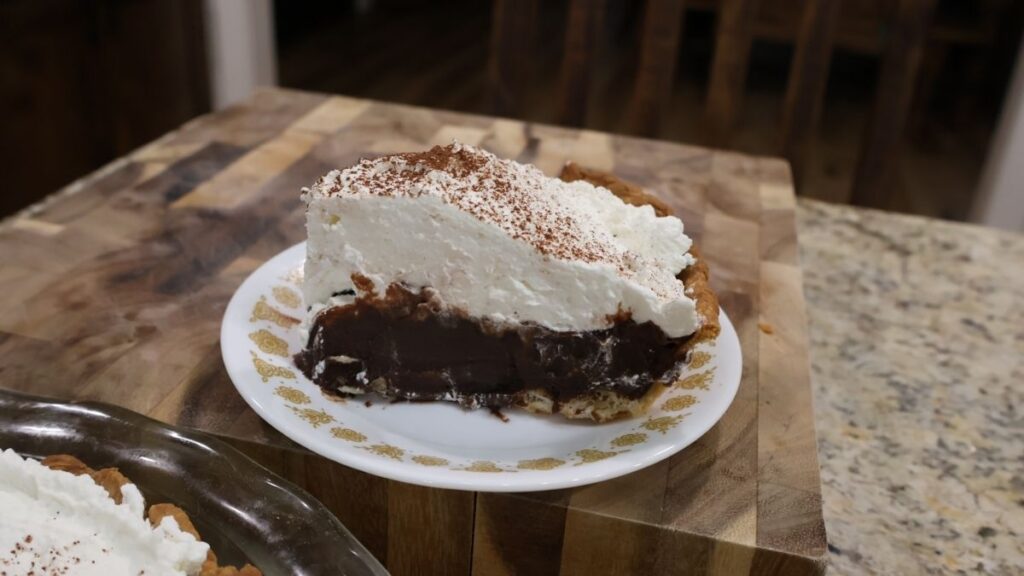
Make these perfect southern pie fillings for the holidays and pair them with a quick homemade whipped cream. You’ll be the rockstar at your family event, not just the one with the wild kids. Thank me later and enjoy!
- Best Homemade Coconut Pie Recipe, Southern Favorite!
- Grandma’s Chocolate Pie Recipe, Great with Cream or Meringue
- How To Make a Stand Mixer Pie Crust (Recipe with Butter!)

Homemade Whipped Cream
Equipment
- Stand Mixer with Whisk Attachment OR
- Hand Mixer with Whisk or Regular Attachments
Ingredients
- 4-6 Tbsp Brown Sugar granulated or powdered sugar can be substituted
- 1 tsp Vanilla Extract
- 2 cups Heavy Whipping Cream
- 1 pinch Salt if desired
Instructions
- Chill your mixing bowl and beaters or whisk in the freezer for 5-10 minutes as well as your heavy cream. Do not skip this step if you will be hand mixing.
- Pull mixing bowl, whisk attachment and cream from the freezer.
- Add your cream to the mixing bowl then add your sugar, vanilla and salt.
- Mix together on low speed for about 30 seconds so sugar can dissolve.
- Increase your speed on your mixer to high for about another minute. Your whipped cream will be finish when stiff peaks can be formed.
- Top your dessert or just spoon and eat! Enjoy!
Leave a Reply