
Are your just dipping your toe into pressure canning? Get resources for learning how to can chicken broth with a pressure canner.

This recipe is my own and is not a tested and approved pressure canning recipe. This blog post is simply a loose guide that will outline the general process of how to can chicken broth. You will need further supplementary instructions from tested and approved recipe sources as well as pressure canner manufacturer instructions to be able to pressure can your own homemade chicken broth yourself. Do your research for yourself to follow safe pressure canning practices. Farmhouse 181 is not liable for your negligence.
Alright y’all…let me be totally transparent. This is the first pressure canning recipe that I have ever blogged about, and very possibly the last. I really like to give you detailed instructions when I do a recipe blog post, but pressure canning is really a combination of using USDA, National Center for Home Food Preservation, or Ball tested and approved recipes with your specific pressure canner instructions. And if you don’t follow tested and approved instructions exactly or safe general canning practices, you could literally kill someone!
Are we all awake and taking this seriously? I hope so! Before you dive off into thinking you want to can everything, make sure you do some background research as to what you are trying to accomplish with pressure canning, which is creating a bacteria free environment for low-acid food. Read this article here by the Old Farmers Almanac on pressure canning which will give you some basic knowledge! Canning is not something to be afraid of doing, but it is something where you need to follow the specific instructions. Links to additional resources will be shared at the end of the blog post.
So…technically speaking we are off to a bad start because the chicken broth I can IS NOT a copy and paste “approved” recipe. It’s just the way I make chicken broth and then can it per my All American pressure canners instructions and the Ball recipe for chicken stock! So I will walk you through how I pressure can my homemade chicken broth then give you additional resources.
Why I love Canning my Homemade Chicken Broth
- I use so much chicken broth in my cooking. It is a pantry staple that I always want to have it on hand
- There are weeks we go without eating chicken at all, so I don’t have any chicken scraps to make a fresh broth to keep in the fridge
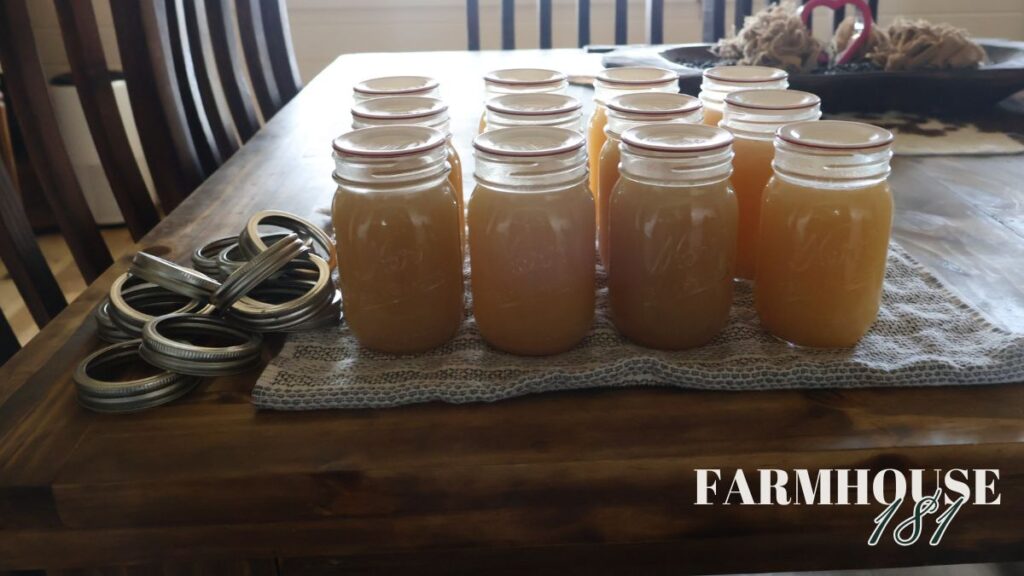
- Shelf life is extended and pint jars can pretty well be used interchangeably for a standard sized can of chicken broth
- I don’t want to have to thaw my chicken broth when I need to use it. Canning versus freezing wins out for me when it comes to the chicken broth
- I already have jars, the canner, tools, and reusable lids. So, at this point it’s basically free except for my time investment. Since becoming a stay at home mom, I have some of that to spare!
Pressure Canning Equipment
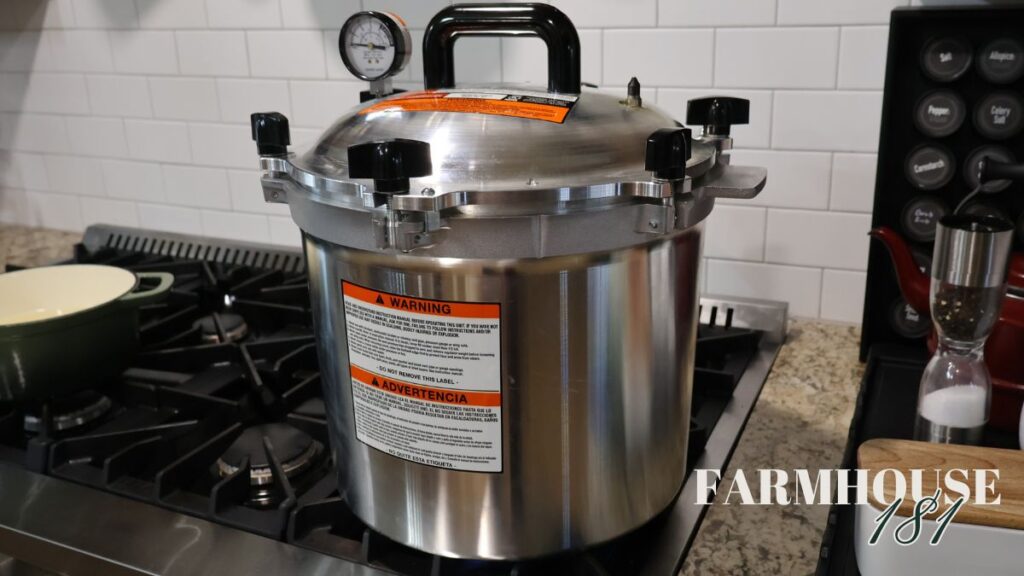
You will need some special equipment to learn how to can chicken broth. Number one thing being a pressure canner. This has to be a pressure canner. YOU CANNOT CAN CHICKEN BROTH WITH A WATER BATH CANNER.
- Pressure Canner.
- Pressure Canning Racks
- Mason Jars
- New metal lids and rings or reusable lids, seals, and rings
- Jar Lifter
- Wide Mouth Canning Funnel
I will have a full blog post on my favorite pressure canning equipment coming out soon. You can choose to pressure can in pint or quart jars, whichever you prefer. I use my All American 921 Pressure Canner that I purchased several years ago.
How to Can Chicken Broth – General Guide Only
Preparing Homemade Chicken Broth
Making your own chicken broth with chicken carcasses or chicken bones is so easy. You could even make beef broth, or a mixture with beef bones (different processing time would be needed). You can make your own broth in the instant pot, large stockpot on stove, pressure cooker, or even in the slow cooker.
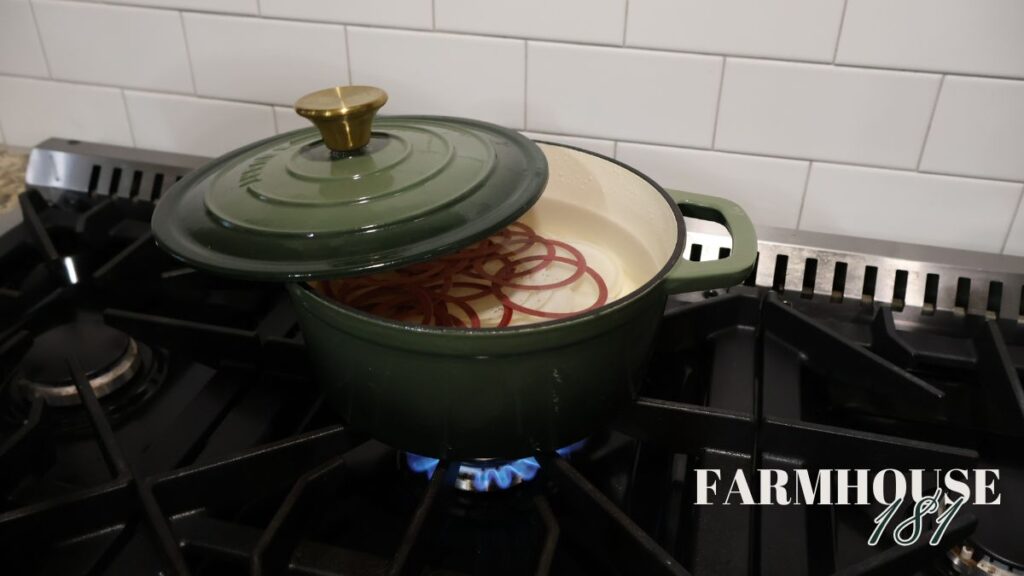
First, I begin by preparing my homemade broth. This round I took chicken wing scraps, and a roasted whole chicken carcass with bits of meat still remaining on it and put it in a stock pot to cook.
Fill the stock pot with water, quartered onion, salt, and a bay leaf. Boil it on high for about an 1.5 hours then turned it down to a simmer for 3 more hours. Usually, the longer you let your broth simmer, the more flavorful broth you get. After that I strain the vegetable scraps and chicken parts from the broth and put the homemade chicken bone broth into a container to store in the fridge overnight.
This is the recipe that I use to make my homemade chicken broth then pressure can it. To follow an approved and tested recipe to make your chicken broth, see one of the recipes below:
- Chicken Stock Pressure Canning Recipe | Ball® & Kerr® Fresh Preserving
- Chicken or Turkey Stock – National Center for Home Food Preservation
Prepping Pressure Canner and Jars
I always make my broth one day, then can it the next morning. I run my pint jars through the dishwasher to sanitize them. While the dishwasher is running, I remove my broth from the fridge and skim the chicken fat off of the top. This gives your jars a better chance of sealing.
When the jars in the dishwasher are about the middle of their washing cycle, I begin to heat my broth back up in a stock pot to boiling. This takes a little while since it is still cold from the fridge.
While I am waiting for the broth to come to a boil, I start prepping my pressure canner per its manufacturers’ instructions. This includes oiling the rim of the lid for easy removal and filling 2-3 inches with hot water and a splash of white vinegar or apple cider vinegar. Get this water in the pressure canner heating to a boil as well.
Start to simmer your metal canning lids, or your reusable lids and seals per their instructions.
Pressure Canning the Chicken Broth
Remove your hot jars from the dishwasher once your broth is boiling. Turn off the broth and let it stop boiling. Fill your hot canning jars with the hot broth to a 1-inch headspace. To do this, I use a PYREX measuring cup and my wide mouth funnel.
Once you have finished filling your jars, wipe the rims clean with some vinegar on a paper towel or dish towel. Remove your lids and seals from the simmering water and place on jar with rings per their manufacturer’s instructions. Tighten the rings and lids to fingertip tightness.
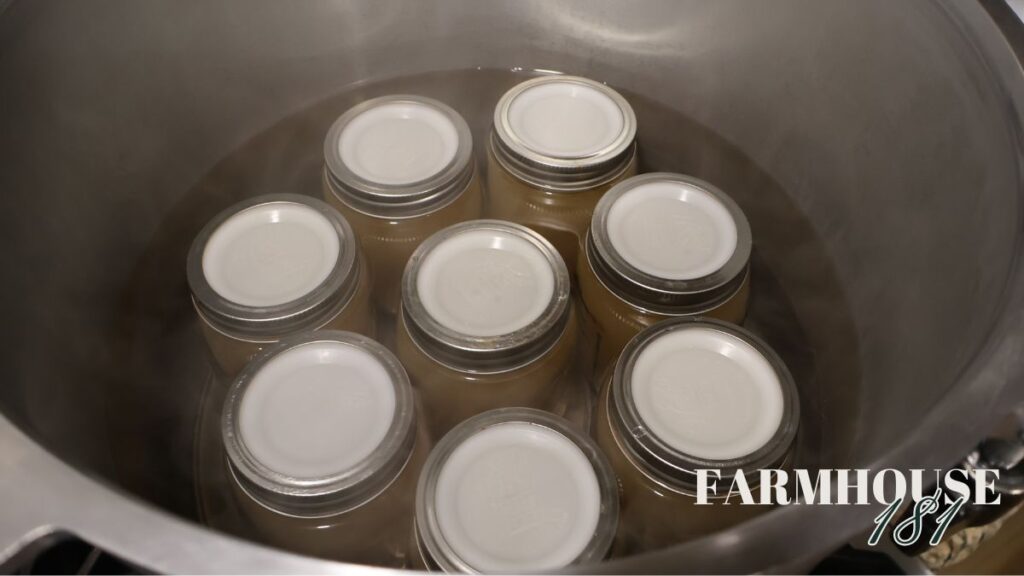
Load your filled and sealed jars into your pressure canner. My canner requires me to have a canning rack on the bottom of the canner and in between jar stacks, if stacking. See your pressure canners instructions to load and seal your pressure canner.
Once your canner is sealed, you will want to turn your pressure canner on high to bring up to pressure and let the canner steam for 10 minutes. Then put on your weight for the correct amount of pressure. Make sure you process your jars for your correct elevation. We are at less than 1000ft elevation so for chicken broth, we would use 10 pounds of pressure…above 1000ft elevation would be 15 lbs of pressure.
Start counting your processing time from the first jiggle of the weight. You will want to adjust your stove heat to where your weight will only jiggle 1-4 times per minute. This is specifically for my All American 921 Canner. Again…read your canners instructions!
You will process pints for 20 minutes and for quarts process for 25 minutes. Once you have reached the correct processing time, you will want to turn your heat to the canner off. Leave your canner on the stovetop and do not touch it until it reads ZERO pressure. This will take a while.
Removing Jars from Pressure Canner
Once you have hit zero pressure, remove your canner weight from the lid. Wait another 5 minutes, then remove your canner lid, opening away from you so hot steam does not get in your face.
Remove your jars from the canner and place on a table or countertop on top of a towel where the jars will not be disturbed. If you used my specific reusable lids, you will want to use a dish towel to tighten down your canning ring even more on the jar. Be careful doing this and please note that this is not required unless your specific lid calls for it! Let them sit for 24 hours before removing your rings. Test to see if they have sealed by picking up by the lid. The reusable lids will easily come off if not sealed correctly.
If you used normal metal canning lids, you will hear a ping for jars sealing when removed from the canner, if they haven’t sealed already. Do not tighten these metal canning lids unless the specific lid instructions tell you to. Remove rings in 24 hours. Pick the jars up by the lids to test their seal. If the jars “button” on lid can be pushed and popped, the jar did not reach a proper seal. Put that unsealed broth in the fridge and use within the next day or so.
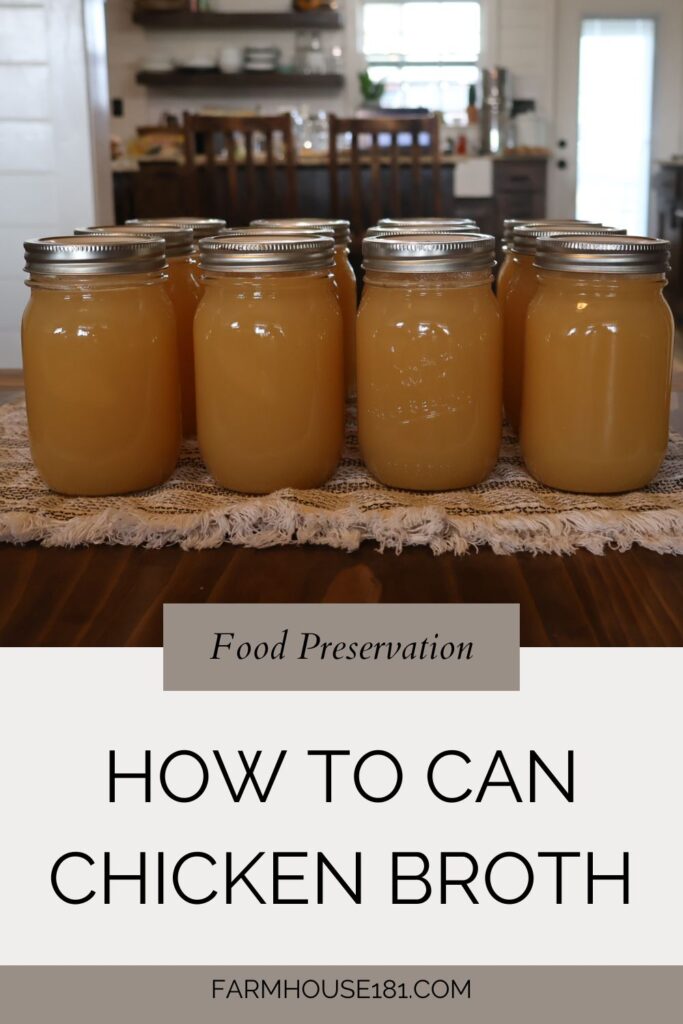
Store your sealed jars of chicken broth in a cool, dry, and preferably dark place.
Home Canning Resources
- Home Page – National Center for Home Food Preservation
- Harvest Guard Reusable Canning Lids – For Home Food Preservation
- Resources: USDA Complete Guide to Home Canning | National Center for Home Food Preservation
Thank you for using the links in this post as you look into and shop for products! It is a small way to support Farmhouse 181 and its production of FREE content. As and Amazon Associate, I can earn commissions from qualifying purchases. This is at no cost to you! Read more here, if needed.
- Ball Complete Book of Home Preserving – https://amzn.to/3QsycE4
- Ball Blue Book: Guide to Preserving: Digital Edition – https://amzn.to/41A88xr
- All American 1930: 21.5qt Pressure Cooker/Canner (The 921) – https://amzn.to/4hO5x8A
Other Farmhouse 181 Recommendations
If you liked this general guide on how to can chicken broth, you may enjoy the following recipes as well:
- Enhance Your Recipes with Homemade Chicken Broth
- Learn How to Make Simple Turkey Broth and Gravy
- Quick Black-Eyed Peas Recipe (Pressure Cooker-Instant Pot)
- Southern Biscuit Pot Pie Recipe in the Cast Iron
Leave a Reply